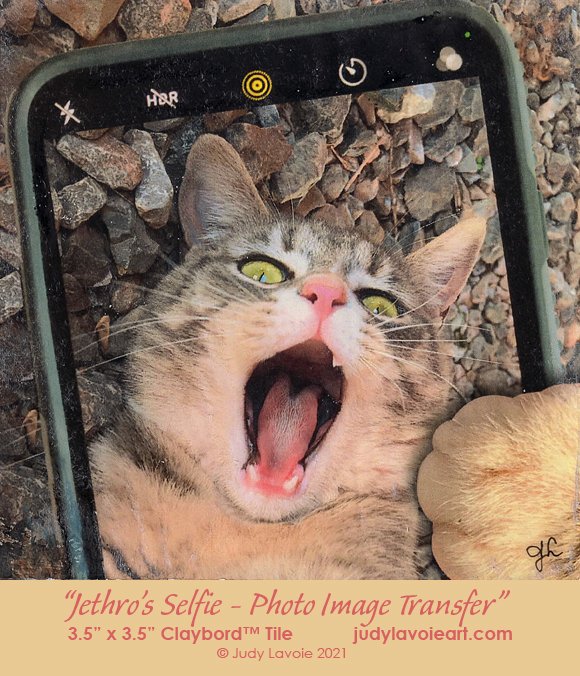
My 7th Jethro portrait is an Image Transfer. Each of my nine portraits of Jethro presents a different art medium on a 3.5" x 3.5" Claybord™ Tile, created and manufactured by Ampersand Art Supply. This image transfer onto Claybord is a fun project to use with photographs, lettering, or with any image printed from a laser printer or copier (not ink jet). I had never tried the process, but I thought it would be a fun addition to my Jethro series, adding another example of the versatility of the Claybord surface.
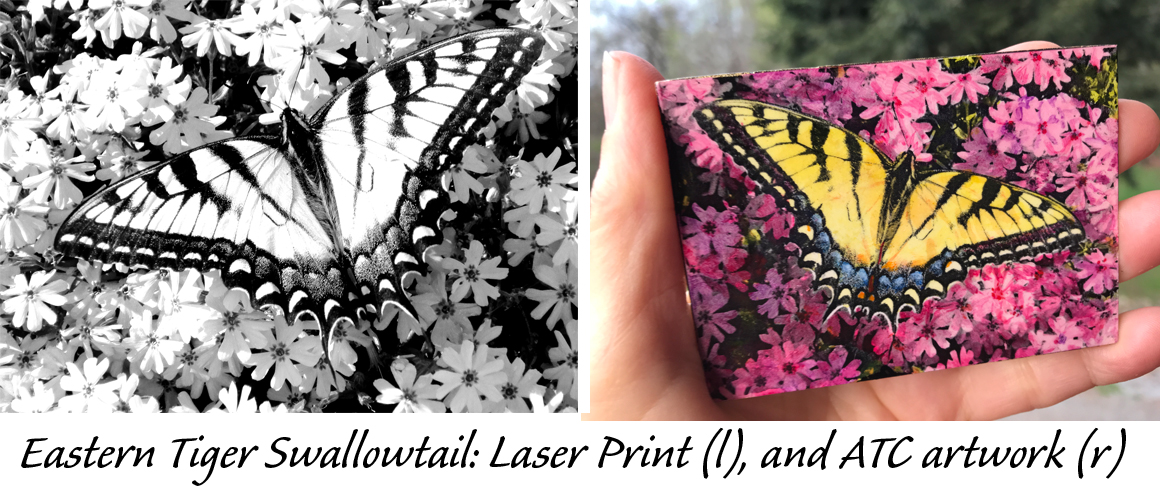
I have only a black and white laser printer, so I did an experiment with one of my Eastern Tiger Swallowtail butterfly photos before tackling Jethro’s image. Using Photoshop, I manipulated the photo to convert it into black and white and reduce many of the values between pure black and pure white. I also sized and flopped the photo to make a mirror image, since it will be reversed back to right-reading in the transfer process. I transferred the black and white image to a Claybord Tile in ATC size (“Artist Trading Card”) of 2.5” x 3.5”. It transferred beautifully, so my confidence in the process was raised. To finish my artwork, I painted directly over the transferred image with Golden Fluid Acrylics, mixing them with Golden Glazing Liquid to keep them transparent, so the dark transferred values would show through. I was delighted with the effect, so I sealed it with gloss varnish as a finishing touch. This is the first ATC size artwork I've ever done; Ampersand makes Claybord Tiles in ATC size in packages of 5. The ATC theme for April in my art guild group is "bugs" so I've submitted this "Swallowtail and Phlox" to the trade pool, and I'll receive another artist's submission soon. Fun!
Back to Jethro…
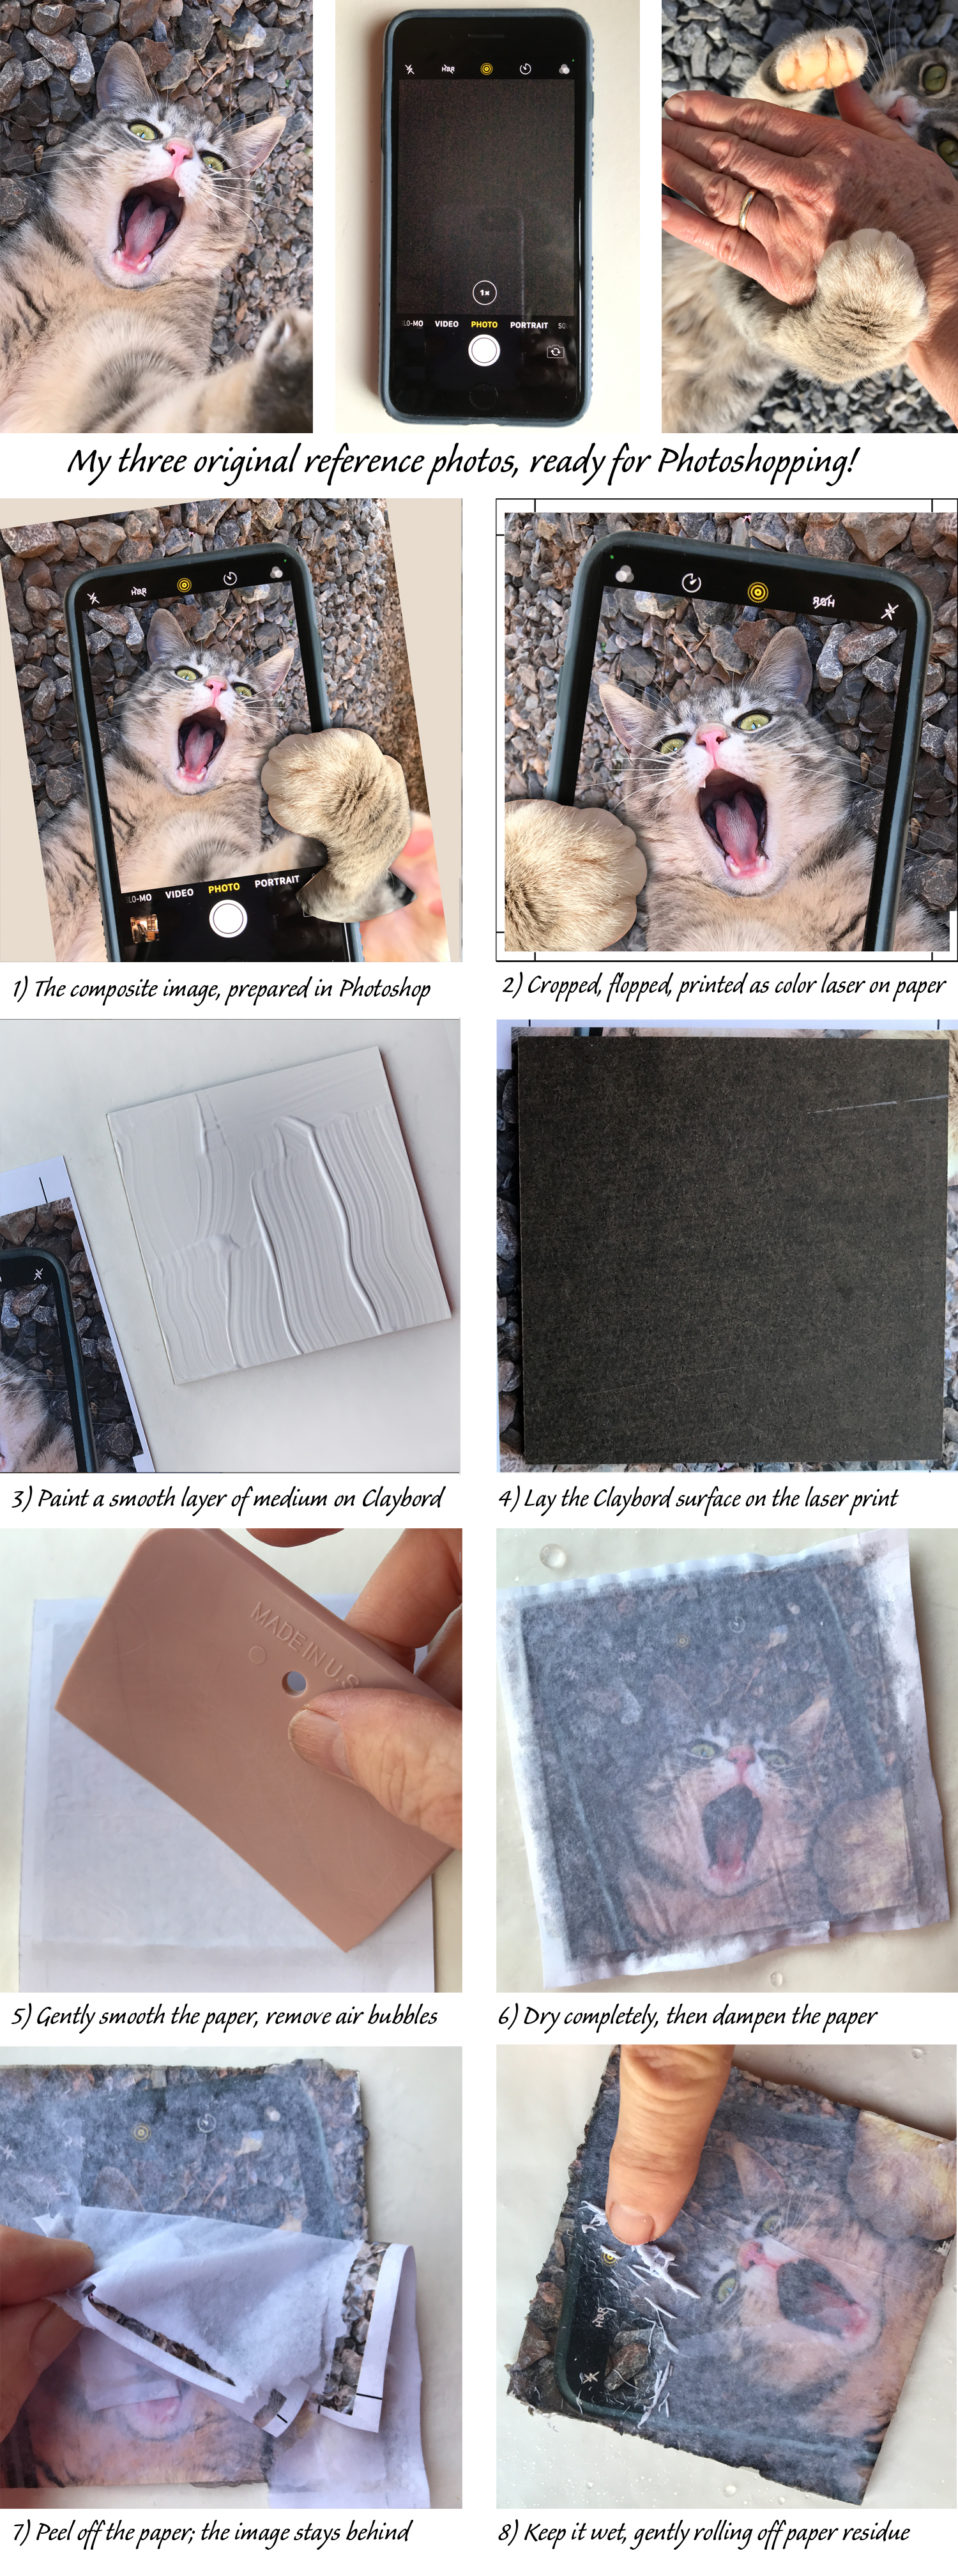
From the many photos I have taken of Jethro, I had accidentally captured him laying on his back with his mouth wide open, and it struck me as really silly… as if he were trying to look ferocious! If I could combine it with some other photos, I had a fun idea in mind. I took a photo of a cell phone in camera mode, then I got a good photo of Jethro’s paw when he reached to grab my hand. Mix some Photoshop magic with the three photos and voila - a Jethro Selfie!
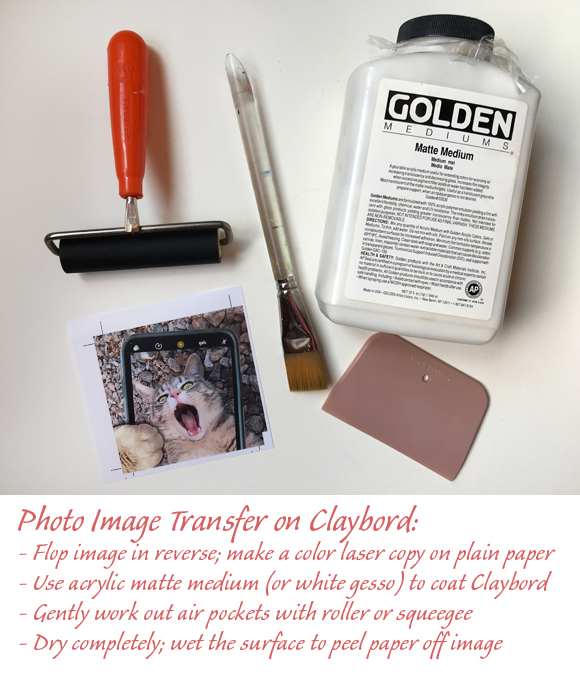
This time I wanted to transfer the image in full color, so I had the local print shop print my sized, flopped and cropped Jethro image onto plain copier paper (glossy photo paper is not recommended). Notice I extended the square image larger than the size of the Claybord and added some crop mark lines to guide me with the positioning later on. Then I painted the Claybord as smoothly as possible with acrylic matte medium (note that my photo below shows the medium before I smoothed it!) Next I flipped the coated side of the Claybord onto the laser print, pressed to make good contact, then carefully turned the stack over. This step is key - you must have the image in contact with the wet matte medium, with no wrinkles or air bubbles. I struggled with this and actually had a failure and started over. Fortunately I had repeated the Jethro image 4 times on my letter-size color print, so I had spares to play with. In hindsight, perhaps a slightly heavier paper in the printer would have wrinkled less…??? Some instructions I read recommend using gesso instead of medium. My results were the same with both, and I made a mess with the white gesso, so I stuck with the matte medium since it dries clear.
Dry the Claybord overnight. Wet the laser paper side to dampen it - I laid a folded wet paper towel on top for several minutes. Then, starting at one corner, pull off the paper and the image should stay behind, absorbed by the Claybord. Paper residue will still cover the image; it will come off with some patience and gentle rubbing with your fingertip, repeating until the transferred image is sharp, not hazy.
I love my final results, but the image transfer process is a bit finicky. I would recommend using it for small reproductions; my 3.5” square was just right. I'd like to explore the process more, perhaps testing some of the variables, like having the laser prints made on different weights of paper.
To finish my piece, I sanded the edges to remove hardened matte medium, then applied a Krylon UV archival satin finish. Jethro likes this portrait best so far!!
Read about my upcoming Claybord presentation below.
Claybord Art Tiles are the same white kaolin clay-coated, ultra smooth, highly absorbent surface as original Claybord but in unique small sizes. This surface and size is amazingly versatile, for a variety of painting applications, jewelry making, collage, coasters, magnets, ornaments, scrapbooking, embellishments, and much more! I love Claybord for the unlimited techniques is allows: painting, drawing, etching, erasing, reworking, glueing, stamping, inking, transfering images, applying skins and more!

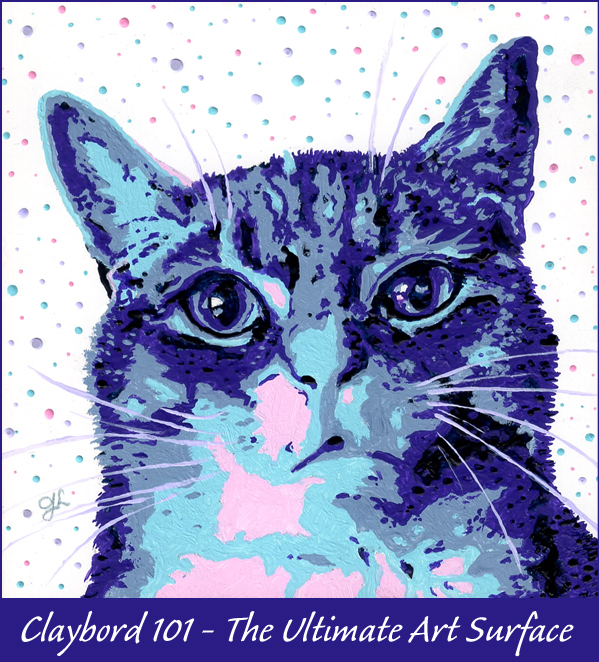
Claybord 101 Video
My series of portraits of Jethro are featured in a presentation I made in May 2021, titled “Claybord™ - The Ultimate Art Surface.” The 25-minute program is now in video form and you can watch it here, on my Video page.
Learn all about the amazingly versatile Claybord art panel for 2-dimensional art a wide variety of media - watercolor, acrylics, colored pencils, graphite, collage, egg tempera, airbrush, gouache, rubber stamping, alcohol inks, markers, image transfers, acrylic skins, oils and more. It can be used as a printing plate with an etching press, and is ideal for mounting papers and fabrics. You'll see my work on these panels as well as the amazing work, in realistic and abstract styles, by many successful talented artists.
Claybord is available in sizes as large as 4'x6', and the Claybord Art Tiles provide a fun small surface for many creative uses. These tiles are available in ATC (Artist Trading Card) size too, for a unique option to exchange with other artists. Try it yourself!
